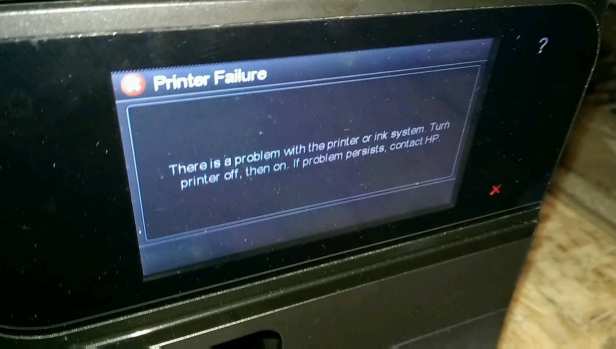
Customer Problem
The customer says the printer gave the error initially that the black cartridge is missing or damaged. He bought a new cartridge and replaced it and the same issue is happening. When received I began getting the printer failure along with the black cartridge is missing or damaged error message.


Diagnosis
The printer error is common with this model, after a period of time waste ink builds up from constant cleaning of the print head and causes the contacts connected on the back the print head board to get corroded. This throws of the signals sent to and retrieved from the print head to the printer’s main board in terms of knowing any information about the cartridge such as if the cartridges are inserted properly and its ink levels. The solution to this problem is to remove the print head and service the contacts and apply aluminum enhance the contact detection.
Work Done
First thing I did was remove the print head from the printer and its cartridges then took out the two screws along with the ribbon cable on the back.

After that gently peel back the board and ensure you dont damage the bottom cable which is attached to the ink vents. Below you will see the contacts that are covered in ink which is causing the communication issue. As you can see the black contact is the most corrupted.

I cleaned all the copper contacts and the springs that make a connection with them with isoprophyl alcohol.


Then I got aluminum foil, folded it up in rectangles and taped them onto the board covering the contacts. Doing this will improve the connectivity between the board and the cartridges.


Once everything is in place I closed it back up, reinserted the cartridges and put it back in the printer.
ALTERNATIVE OPTION
Here I am using soldering wire to bridge the copper connections on the circuit board. This method has produced a much better success rate for me.
First you will cut four separate pieces around an inch in length.

Then create horse shoe curve for each piece.


Now fit them in each socket where the springs reside, ensuring they are able to touch the copper contacts on the other side of the circuit board when screwing it back down.


Results
The printer on its first run with the new changes will go into maintenance mode just allow it to do its thing. After it will print an alignment page and then go to the main screen. Here is a printer report.

CREDITS to Inkproducts.com and S.K. sur’s video for helping resolve this issue.

Thank you for the guidance.. It does work.
LikeLike
Great to know it worked for you, its very hit or miss.
LikeLike
This is really helpful information..Thank you
LikeLike
Glad I can help, I will be updating the process soon to make it a bit easier to do.
LikeLike
I tried this method as a last resort 4 days ago and worked like a charm (so far), thanks so much for posting!
LikeLike
Great that it worked for you, I am still to update this method with another one I manage to find and test with good results as well.
LikeLike
I wish this would work for me after paying $128 for new cartridges.
LikeLike
I wish this would work for me. Just spent 128 bucks on new cartridges
LikeLike
Hi I just updated the post with another method to hopefully not make your purchase of cartridges not go in vain.
LikeLike